"CollageIt is a very nice and useful photo collage utility."
- Soft32
" It's a great photo collage software! A very, very fast and simple photo editor."
- Benjamin Glettenberg
Launch CollageIt 3.5.0 for Mac and get started to make collage.
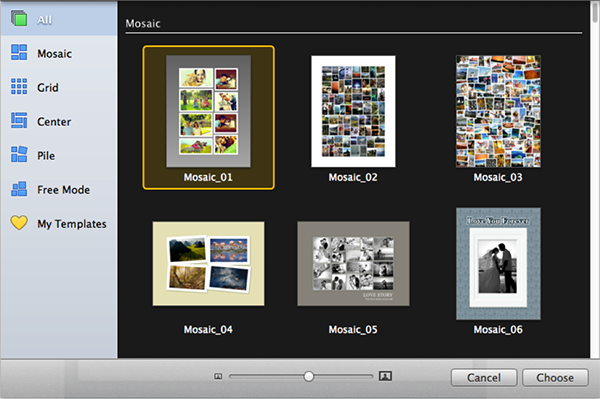
Choose a template from 5 collage styles of templates: Mosaic, Grid, Center, Pile and Free Mode, including 100+ professional designed templates in total.
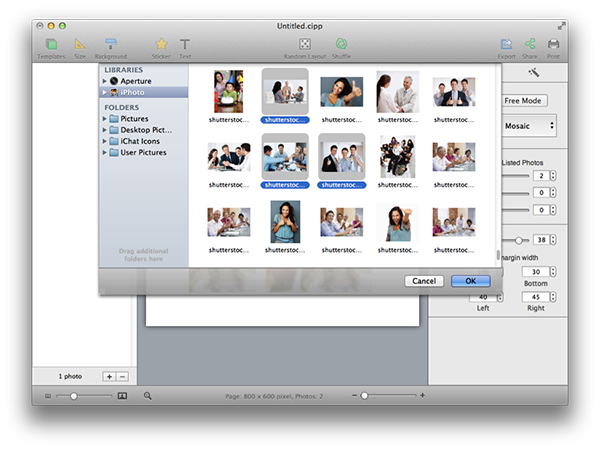
Click  button to select photos and add in collage. Here you can add photos directly from iPhoto now.
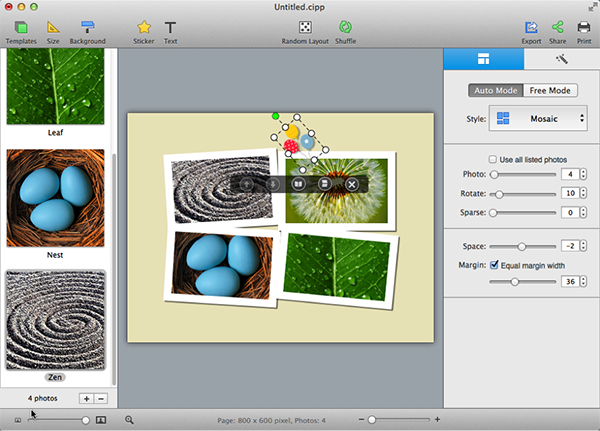
Click  on the top right panel to personalize Layout settings.
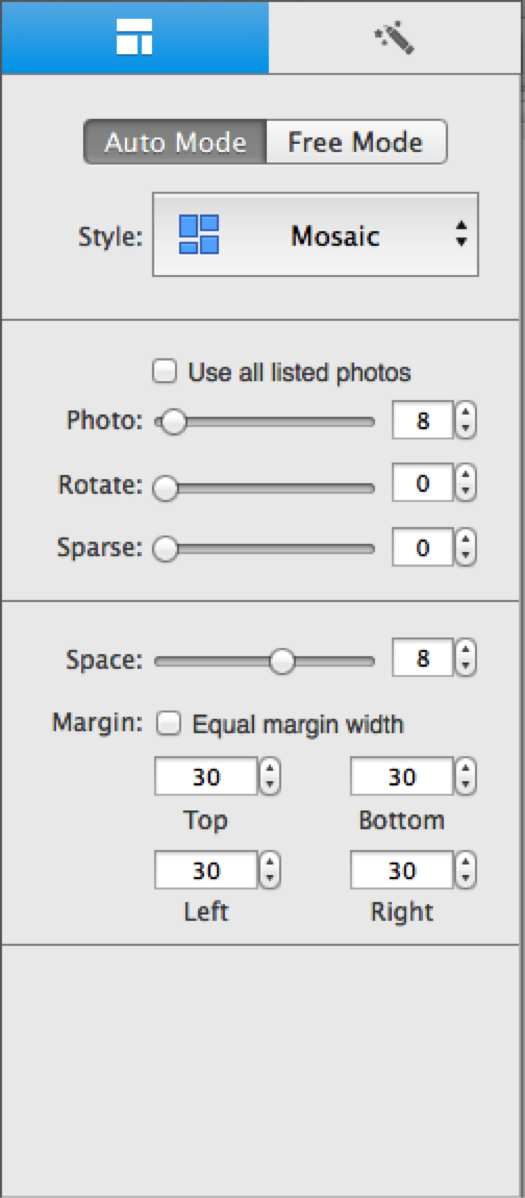
Choose a collage layout from 4 styles including Mosaic, Grid, Center and Pile.
Check Use all listed photos to use all photos you’ve added in the left photo list.
Set various parameters such as Photo, Rotate, Sparse, Space, and Margin to change the layout of collage.You can set the margin on four directions by inputting margin properties of Top, Bottom, Left, and Right respectively.
Click  Random Layout to get different collage layouts in the same style.
Click  Shuffle to randomly rearrange photos in the layout.
Click Free Mode to move, resize, and rotate each photo manually.
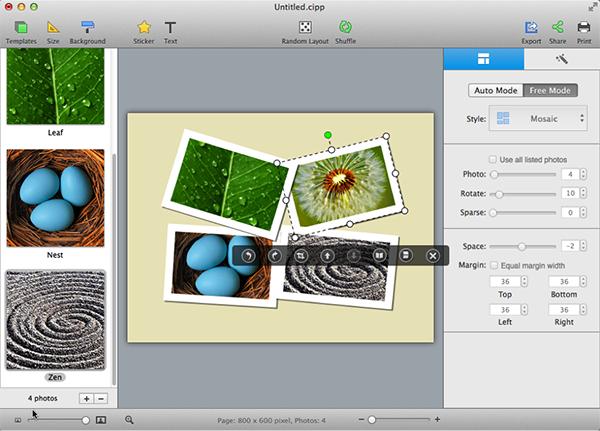
Click  on the floating toolbar to rotate photo by 90 degrees anti-clockwise; click
  to rotate photo by 90 degrees clockwise.
Click  to crop and zoom on photo to make it fit well in the frame.
Click  and
and  to adjust layers – bring photo to front and send it to back.
Click  and
and  to Flip or Mirror the photo.
Click to delete photo object.
Click  on the top right tabto personalize photo settings like Border, Shadow, Image Effect and other Decorations for your photos.
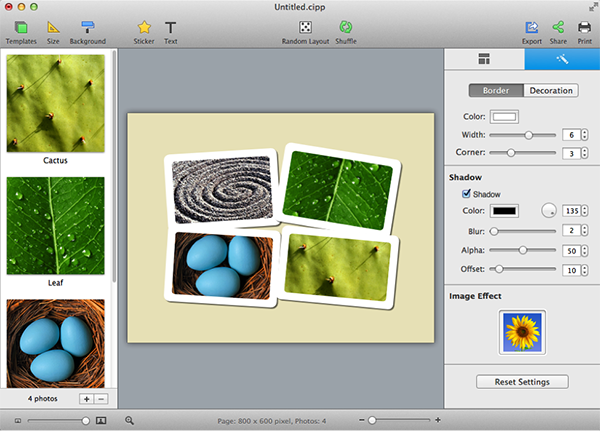
Set border Color, Width and Corner for your photos under the Border tab at will.
Grab the Corner slider to create borders of round corners.
Check Shadow to customize shadow settings like Color, Blur etc.
Click any image effect to beautify your photos. Click Original to remove Image Effect.
Apply Frames & Masks to enhance your photo under the Decoration tab.
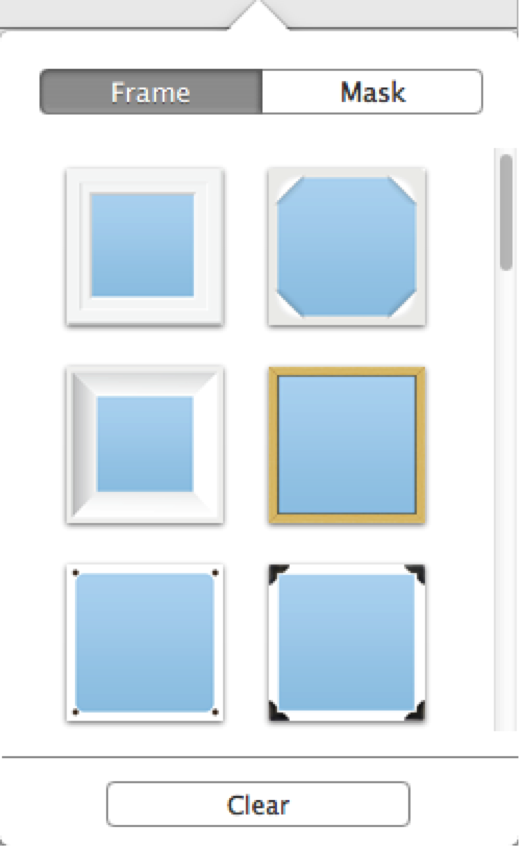
Click Clear to eliminate any mask or frame.
Click Size toolbar button  on the top of window to personalize page size.
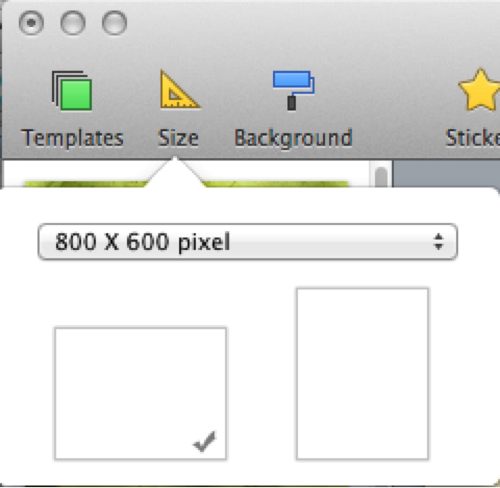
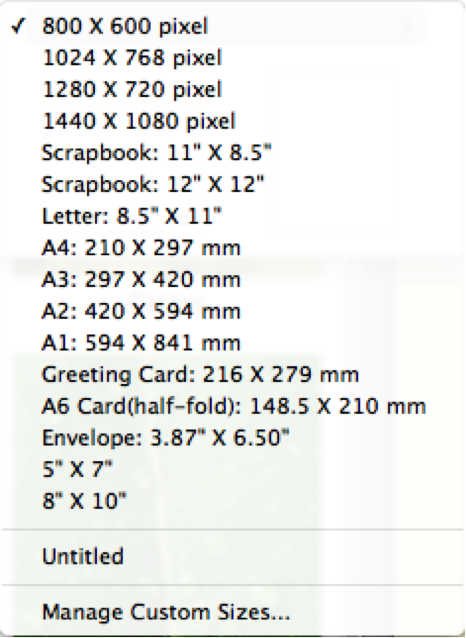
Click size combo box to choose the collage size you need. Click Manage Custom Sizes… to customize your collage size and DPI.
Set orientation of the page by clicking the Landscape or Portrait tab as you wish.
Click Background toolbar button  on the top of window to set background.
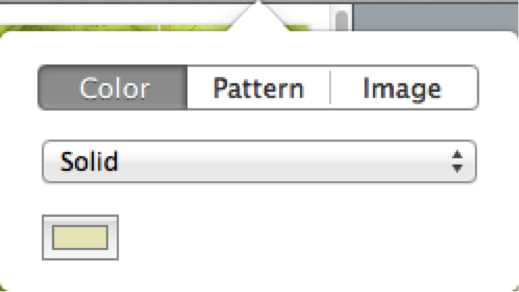
Click Color tab to fill the background with specified color. The color fill type can be set as Solid, and Gradient Color.
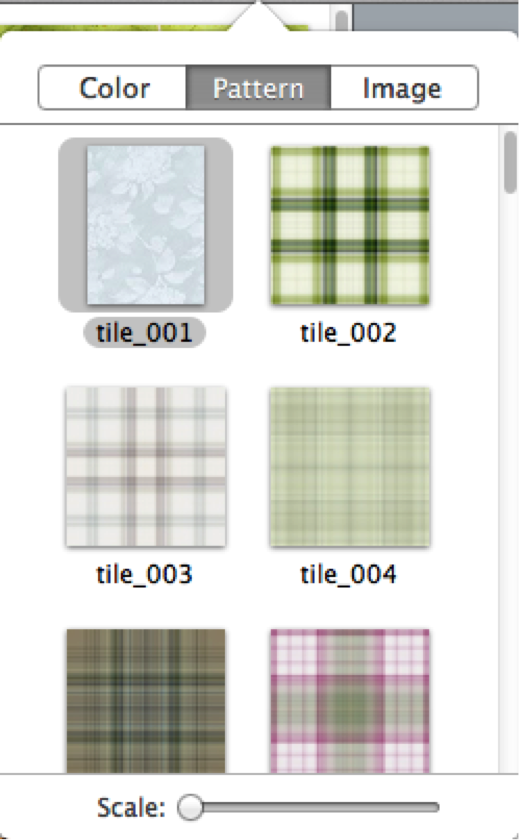
Click Pattern tab to choose a preset pattern as background.
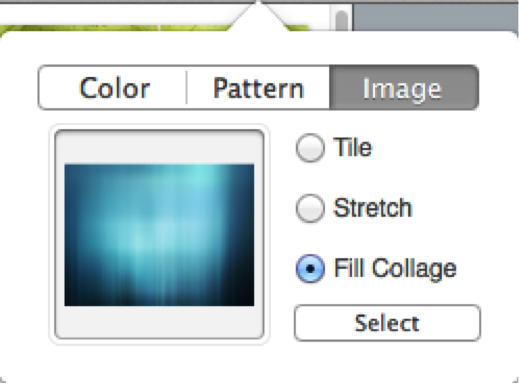
Click Image tab to set your own image as background. You can set the customized image as Tile, Stretch, or Fill Collage.
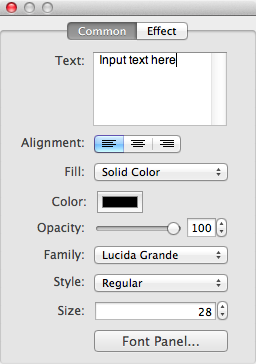
Click Text toolbar button  to add text in the collage, and edit common settings of the text on Common tab.
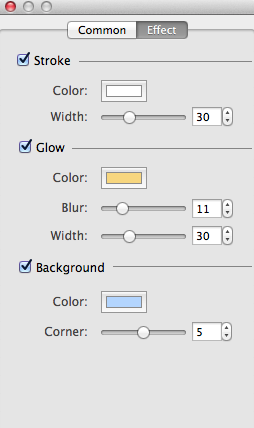
Apply text effects – Stroke, Glow, Background on Effect tab.
Click Sticker toolbar button  on the top of window to add stickers you like.
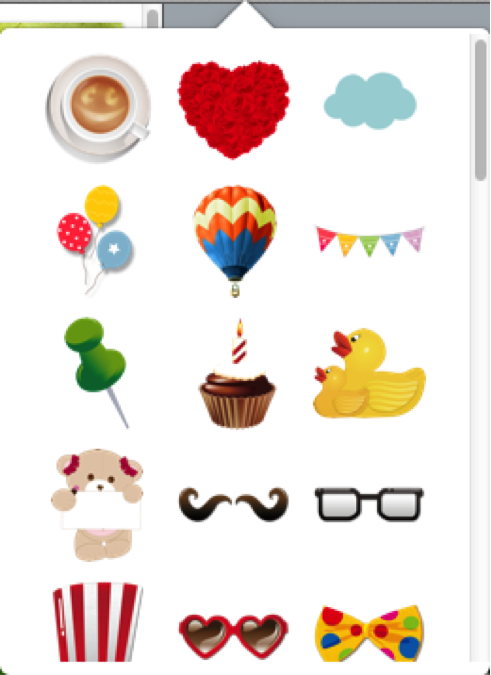
You can also move, resize, and rotate your stickers at will.
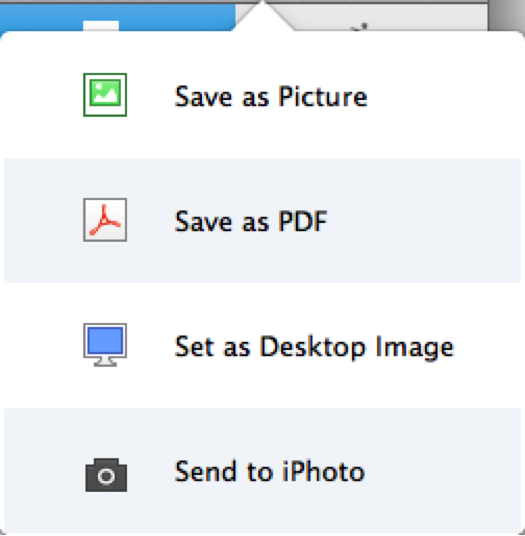
Click Export toolbar button to export your collage as picture/PDF, set as desktop wallpaper, or directly send to iPhoto.
Click Print toolbar button to print collage directly.
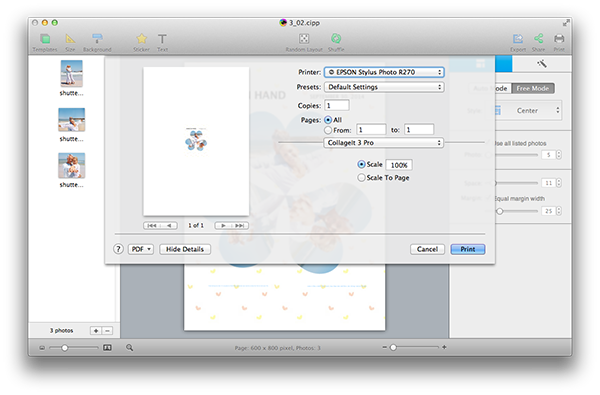
Make print settings such as Printer, Copies, Pages, Scale, etc. to suit your needs.
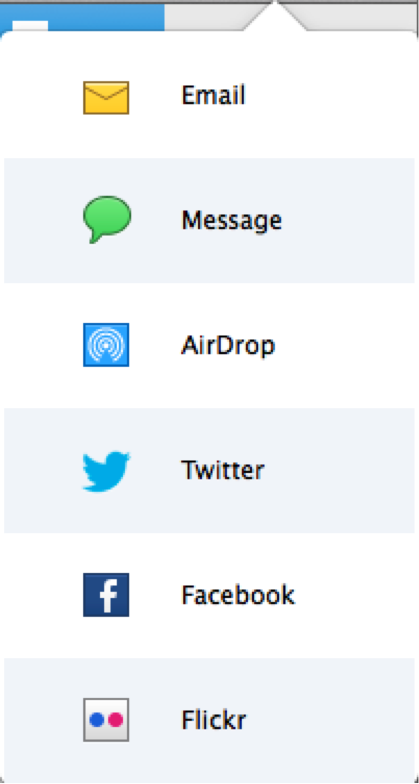
Click Share toolbar button to share collage directly via Email, Message, AirDrop, Twitter, Facebook, and Flickr.