


"CollageIt is a very nice and useful photo collage utility."
- Soft32
" It's a great photo collage software! A very, very fast and simple photo editor."
- Benjamin Glettenberg
Making collage using CollageIt allows you to share your memories and important mementos with those you love. When you are making collage, setting photo parameters is indispensable, the photo frame will showcase a picture well, truly highlighting the beauty of your friends, family members and memories, and with a recessed shadow decorated, which will create a more striking appearance.
To truly make a photo collage, you need to add photos first. The following steps will teach you how to set photo parameters.
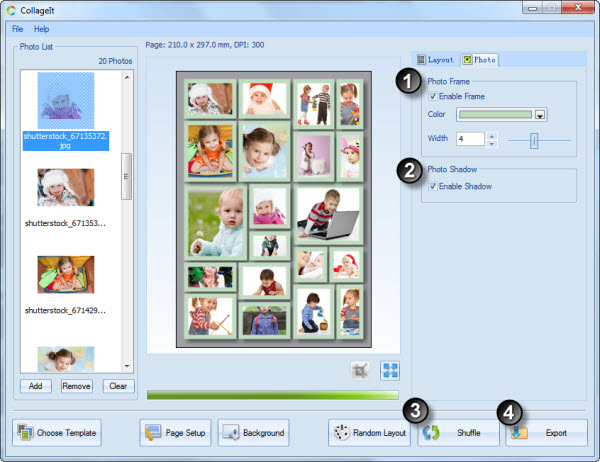
In Photo Frame section, you have the option to enable the frame by checking Enable Frame box, check it then your photos in the collage with a color border added automatically.
The default color of frame is white, if this color is not for you liking, click color button and choose the best color that satisfied you.
If you thought the photos with the frame do not look better, you can set the width of the frame, just input the numbers in the blank area or drag the slider next to it to change the width of frame.
In Photo Shadow section, you have the option to enable shadow by checking the Enable Shadow box, check it then you’ll see the shadows are added to all photos. Shadows create fascinating pictureson their own.
You can click Random Layout button indefinitely to generate the different layout of the collage. In addition, you can shuffle images on the layout using the Shuffle button to get the best results.
When you’re happy with your collage, click Export button to save the custom photo collage as an image so that you can send it to your friends and families via email, hang it on the wall as a poster, upload it to your blog or the image hosting site.