

"CollageIt is a very nice and useful photo collage utility."
- Soft32
" It's a great photo collage software! A very, very fast and simple photo editor."
- Benjamin Glettenberg
Launch CollageIt for Mac and get started making your collage.
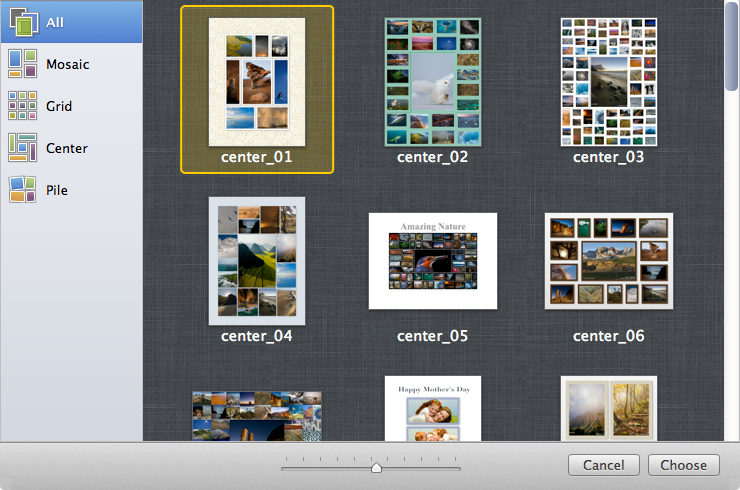
Choose a template from the 4 different styles of templates: Mosaic, Grid, Center and Pile, which covers 30+ templates in total.
Click ![]() button to browse and select the photos you want to add.
button to browse and select the photos you want to add.
Switch to Layout tab and make Layout settings in the right panel.
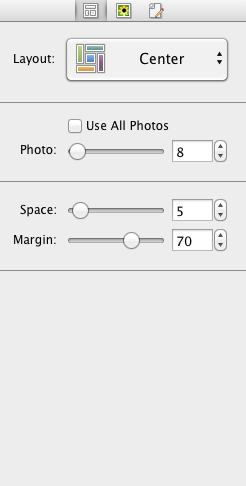
Choose one collage layout among the 4 predesigned styles including Mosaic, Grid, Center and Pile.
Set various parameters like Row, Column, Space, Margin, etc. to change the layout of collage.
Click the ![]() button to switch to photo tab. You can make photo settings like Border and Shadow for your photos here.
button to switch to photo tab. You can make photo settings like Border and Shadow for your photos here.
Click the ![]() button to switch to page tab, and make page settings like Size and Background.
button to switch to page tab, and make page settings like Size and Background.
You can click Random Layout to get a different collage layout in the same style.
Click Shuffle to randomly reorder the photos into other frames in the layout.
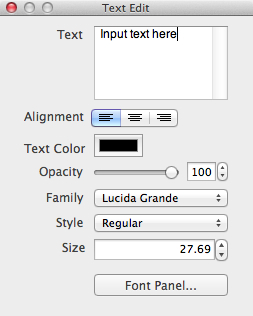
Click New Text toolbar button to add text into the collage, then you can edit your text in the inspector on the right.
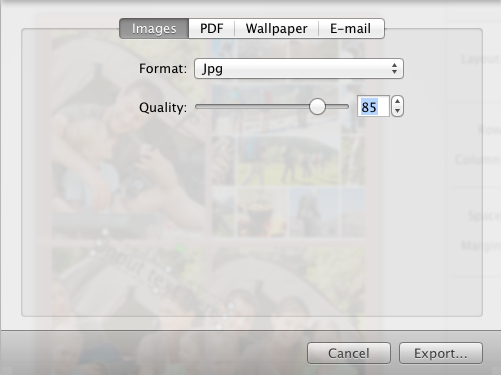
Click Export toolbar button to make export settings (Format, Quality, etc.) and export your collage as image, PDF, set as wallpaper or share via E-mail.
Or you can click Print toolbar button to print the collage directly.